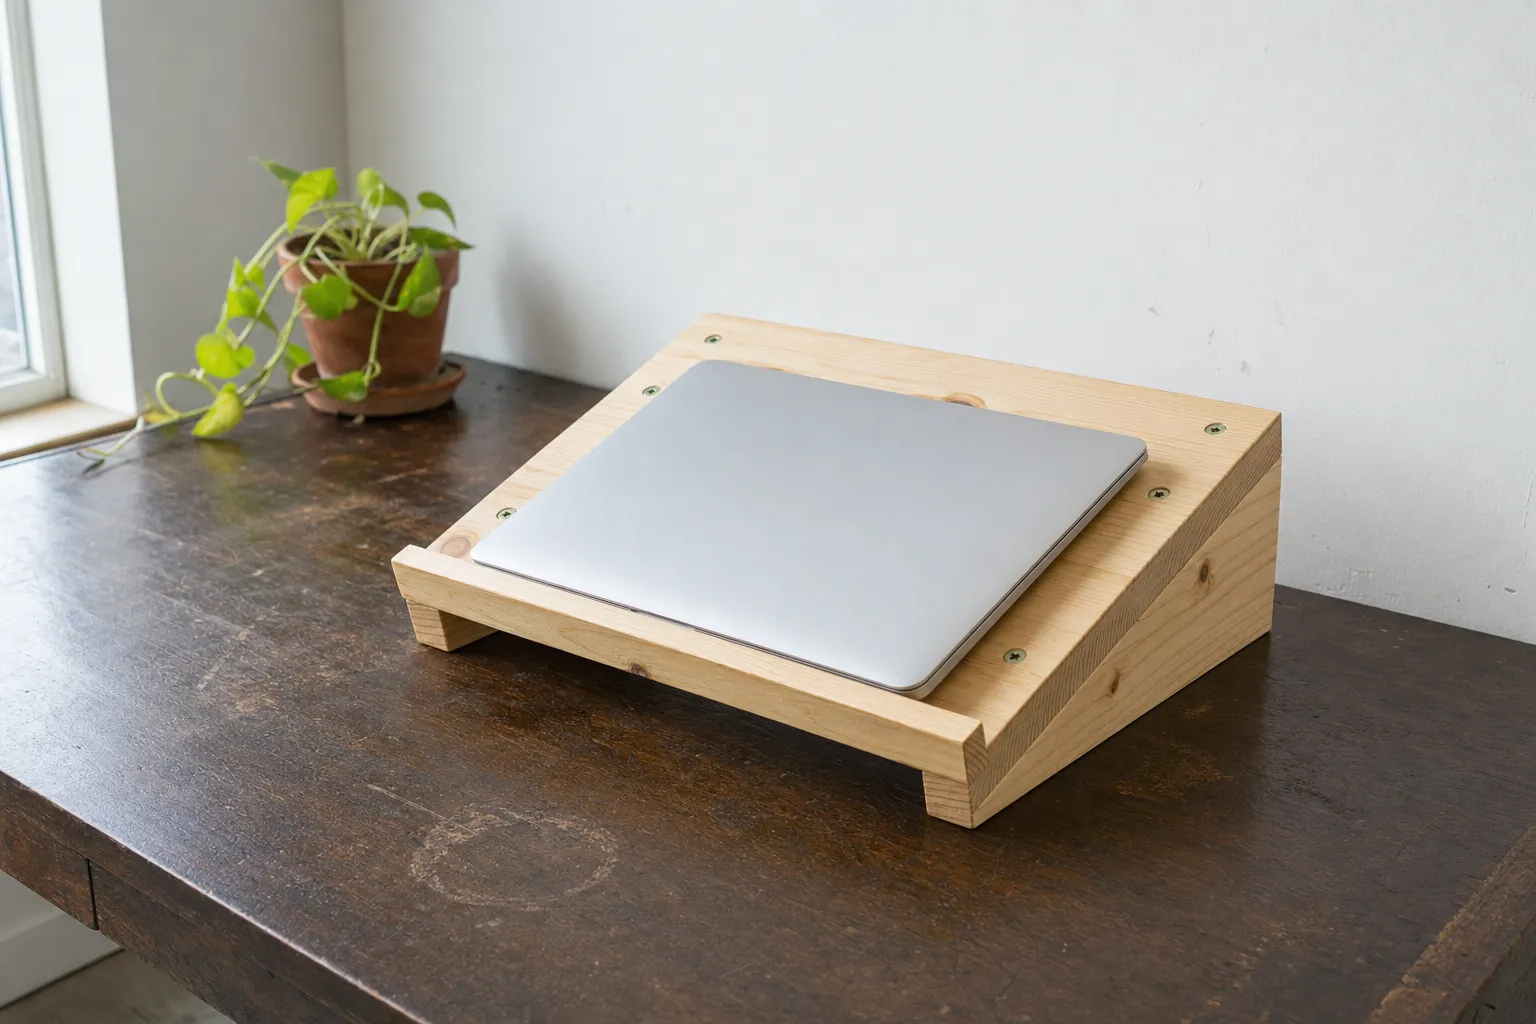
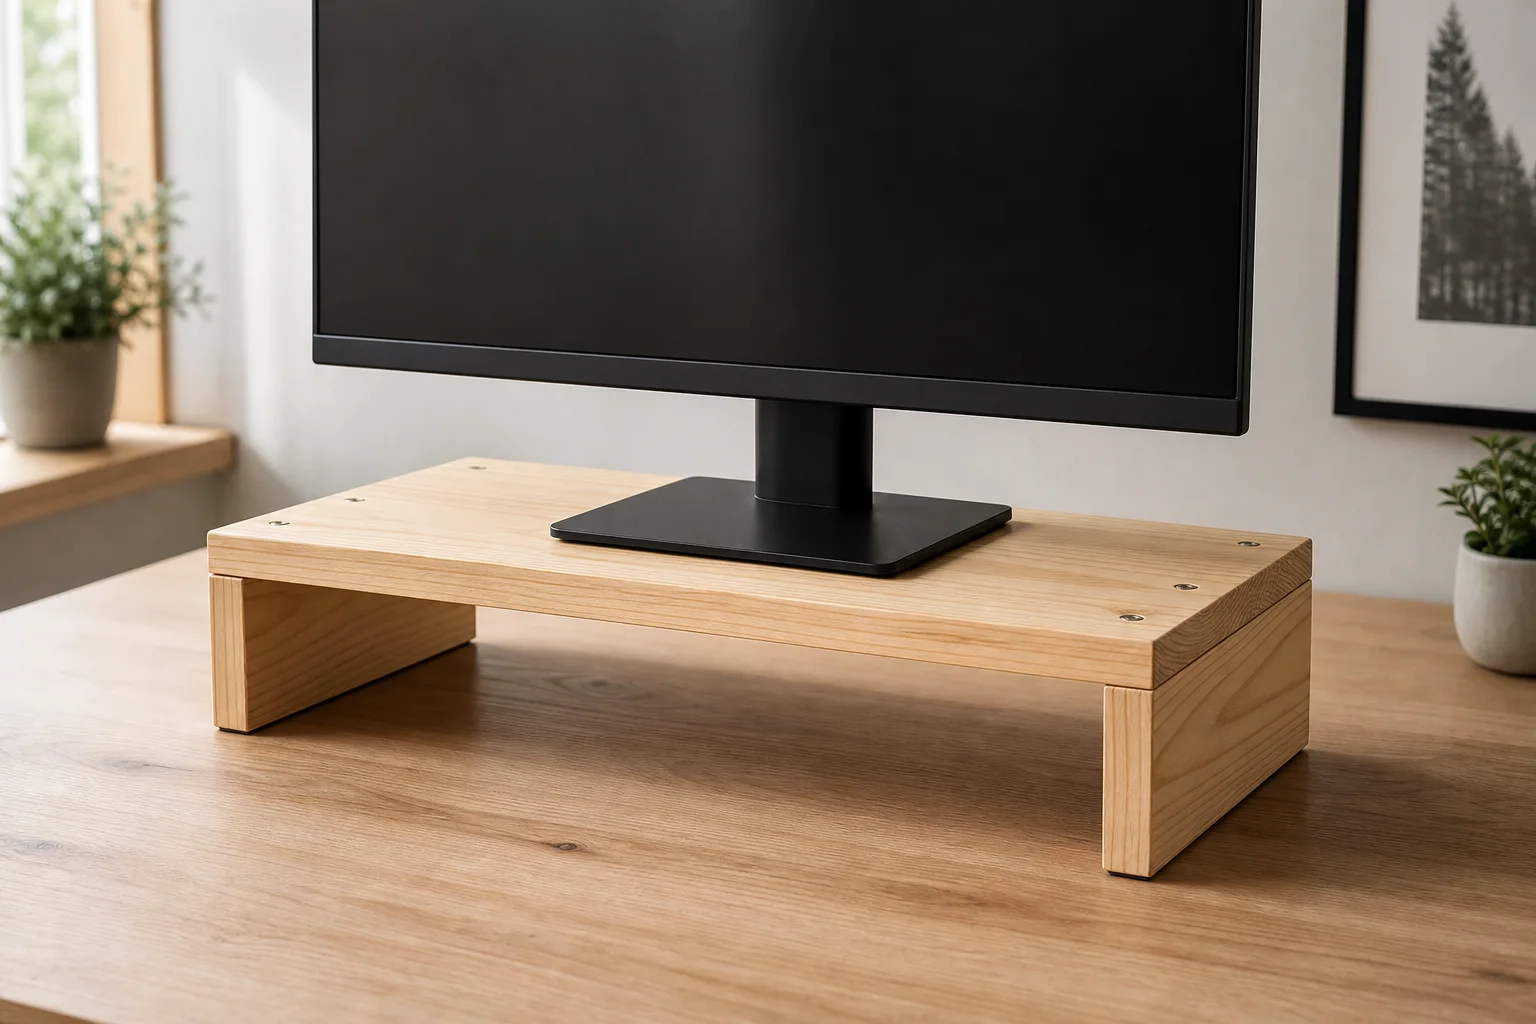
Tools you'll need
- Tape measure or rule - Use one unit system throughout layout and cutting.
- Sharp pencil - Label the waste side and each finished part.
- Combination or speed square - Verify square cut lines and side alignment.
- Saw suitable for crosscuts and width cuts - Use a circular saw with a straightedge, table saw, suitable hand saw, or a sliding miter saw with enough capacity to cut completely across the side blank; retailer cutting service is also acceptable.
- Drill/driver - Use a controlled clutch setting when seating screws.
- Clearance, pilot, and countersink bits - Match the clearance and pilot diameters to the selected screw manufacturer's guidance.
- Two clamps - Capacity must span the top and side joint without distorting the work.
- Sanding block with 120- and 180-grit abrasive - Ease sharp edges without rounding joint faces before assembly.
- Safety glasses - Wear during cutting, drilling, and sanding.
- Hearing protection - Required whenever powered tools create hazardous noise.
Materials
- Planed pine board - Select one flat, straight, dry, untreated board without splits, loose knots, twist, cup, or severe wane. It supplies the top and both side panels.
- 6 Flat-head wood screws - Use #8 x 2 in screws in the US or 4 x 50 mm screws in metric regions. Require at least about seven shank diameters of thread embedment without any point exiting a face.
- Interior PVA wood glue - Use fresh adhesive within its shelf life and obey label temperature, clamp-time, cleanup, and full-cure directions.
- 4 Thin non-slip furniture pads - Use four equal-thickness pads that adhere to the selected finish and do not make the riser rock.
- Water-based clear satin wood finish - Optional. Use only an indoor wood product compatible with the adhesive and pads; follow label and SDS ventilation, PPE, coat, dry, and cure requirements.
Skip the math - the Fixie iOS app generates a per-project cut list for the exact dimensions you pick, with kerf accounted for and one-tap sourcing for the lumber.
Step by step
Verify the riser fits you, your monitor, and your desk
Measure the monitor base and confirm it fits fully inside the selected top width and depth with cable slack. Simulate the finished overall rise with stable books or blocks, sit in your normal posture, and confirm the screen top remains at or slightly below eye level, the screen center is roughly 15–20 degrees below horizontal eye level, and the viewing distance is comfortable—typically 20–40 inches. Choose a lower setup if bifocals require it. Stop if the base overhangs or the simulated position is uncomfortable.
Inspect the stock and mark the length cuts
Reject pressure-treated, wet, twisted, cupped, split, or badly knotted stock. Confirm the board's actual dimensions against the plan. Mark one top at the selected width, then mark two full-width side blanks at the full top depth. Mark every cut line clearly and place an X on the waste side. Do not mark the 3 1/2 inch side height yet; that separate width cut comes after the blanks are crosscut.
Crosscut the top and two side blanks
Clamp and support the single board. Make one square reference-end trim, crosscut the top at the selected width, then crosscut two full-width side blanks at the full top depth. Keep the blade on the waste side of every line. The length plan reserves a 1/8 inch kerf for each finished piece; if the selected blade is wider, stop and recalculate. Label the two square side blanks left and right and verify that their lengths match before continuing.
Cut both side blanks to finished height
On each full-depth side blank, mark the finished height from the same straight reference edge: 3 1/2 inches in the US or the regional value. The 9 1/4 inch direction must remain parallel to the wood grain. Clamp and support the blank, then cut along the marked line with a circular saw and guide, table saw, suitable hand saw, or a sliding miter saw with enough capacity to cut completely across the blank. This grain direction matters: it leaves edge grain at the top joint for stronger glue and screw holding. Cutting a 3 1/2 inch slice directly across the original full-width board would turn end grain toward that joint, so do not use that shortcut. Confirm both finished sides are equal before continuing.
Sand the parts and verify the dry fit
Sand all accessible surfaces with 120 grit followed by 180 grit, working with the grain. Keep the top edge of each side and the matching glue zones under the top flat and square. Ease exposed sharp edges lightly. On a flat protected surface, place the top upside down and stand both sides on it; each side must be flush with its top end and with the front and back edges. Confirm the assembly does not rock.
Lay out six screw centers
Keep the dry-fitted assembly upside down. Trace each side position on the underside of the top. On the top face, mark a line centered over each side thickness. Along each line mark three screw centers at 20, 50, and 80 percent of the depth, measured from the same front edge. Verify every center lands over the side thickness and remains safely clear of all edges.
Drill clearance holes, pilots, and countersinks
Clamp one side in its traced position under the upside-down top. At each marked center drill a shank-clearance hole through the top only, continue a straight pilot hole into the side using the screw manufacturer's specified diameter, and countersink the top so the flat head will finish flush. Set a depth stop so the pilot and screw point cannot exit the side. Repeat for the other side, then test one screw by hand and stop if the wood begins to split.
Glue, clamp, and screw both sides
Brush a thin, continuous coat of interior PVA glue across one clean side top edge, place it inside the traced outline under the upside-down top, align it flush at the end, front, and back, then clamp without bowing either board. Drive its three screws until the heads are flush—do not crush the wood. Repeat for the other side. Recheck both sides for square, compare the clear opening at front and back, wipe away squeeze-out as the glue label directs, and leave the assembly clamped for the full label-specified clamp time.
Let the adhesive cure and inspect every joint
Leave the unloaded riser undisturbed for the adhesive's full cure time. Remove clamps, set it upright on a known-flat surface, and inspect all six screw heads and both glue lines. Reject and repair the build before use if any screw is proud, any point has broken through, either side is split or loose, a joint has a visible gap, or the riser rocks.
Apply an optional clear finish
If finishing, remove all dust and apply thin coats of a compatible water-based clear satin wood finish exactly as its label directs, including sanding between coats only when specified. Keep the bottom pad locations clean enough for adhesion. Allow the final coat to reach full cure before attaching pads or placing the monitor; otherwise skip this step and leave the clean sanded wood unfinished.
Fit four pads and place one centered monitor
On a clean, fully cured surface, attach one equal-thickness non-slip pad near the front and rear of each side bottom, inset equally from the edges. Set the empty riser on the desk and confirm all four pads contact without rocking or sliding. Place one monitor centered left-to-right and front-to-back with its entire base supported and cables slack. Recheck your viewing position. Stop using the riser if it rocks, slides, cracks, loosens, or develops a joint gap.
Tips
- Dry-fit before you glue. Standing both sides under the top and checking for rock catches a cutting error while it's still easy to fix.
- Keep the 9 1/4 in depth direction running with the wood grain on both side pieces — cutting across the grain instead leaves weaker end grain at the glued joint.
- A controlled clutch setting on the drill keeps screw heads flush without crushing the pine around them.
- Let the glue cure fully before you set a monitor on the riser — testing it early is the most common way to loosen a joint.
- Skip the finish if you want to get building faster — it's optional, and plain sanded pine looks fine on its own.
FAQ
How much weight can a monitor riser like this hold?
This plan is sized and screwed for a single monitor base, not a shared shelf. Keep the load to one monitor with its base fully supported and centered, and don't stack additional weight on top.
Do I need special tools to build this?
No — a saw capable of straight crosscuts, a drill/driver with clearance, pilot, and countersink bits, two clamps, and a sanding block cover the whole build. No router or specialty joinery tools are needed.
Can I skip the finish?
Yes. The optional clear satin finish is there for looks and easy cleaning, not structural strength. Plain sanded pine works fine if you'd rather skip that step.
Why does the plan call for pilot holes at every screw?
Pine splits easily near an edge. Pre-drilling a clearance hole through the top and a pilot hole into each side keeps the screws from cracking the wood as you drive them, and the countersink keeps the heads flush.
What size monitor riser should I build?
Measure your monitor's base footprint first, then pick a top width that fits it with room for cable slack. The side height and depth stay fixed at about 3 1/2 in and 9 1/4 in; only the width changes with your screen size.
Build it, guided every step
The Fixie iOS app turns this plan into a customized build for your exact space - pick your dimensions, get an auto-generated cut list, order materials in one tap, and follow the steps with 3D previews. Have something else in mind? Describe it or snap a photo and Fixie will design your own build from scratch - your first design is free.
Download Fixie on the App StoreMore beginner projects