Tools you'll need
- Tape measure
- Stud finder
- Pencil
- Level - 24" minimum
- Miter saw or circular saw
- Drill / driver
- Sandpaper - 120 and 220 grit
- Bar clamp
- Safety glasses
Materials
- 1 board, 6 ft long 1x10 hardwood board - Pine, oak, maple — your call. The shelf face.
- 1 board, 6 ft long 2x2 select pine - For the hidden cleat
- 6 #10 × 3" wood screws - For mounting the cleat into studs
- 6 #8 × 1 1/4" wood screws - For attaching the shelf to the cleat
- 4 Drywall anchors - Backup if a stud isn't where you need it
- Wood finish - Oil, wax, polyurethane — your preference
Skip the math - the Fixie iOS app generates a per-project cut list for the exact dimensions you pick, with kerf accounted for and one-tap sourcing for the lumber.
Step by step
Plan the layout
Decide where you want the shelves. For visual rhythm, space them at heights of multiples of 8". Find studs with a stud finder and mark them — your cleats will screw into these.
Cut the shelf face and the cleat
From the 1x10 cut a 30" length for the shelf face. From the 2x2 cut the cleat 1 1/2" shorter than the shelf face — so it disappears inside.
Sand both pieces smooth
Sand the shelf face with 120, then 220. Round over the front edge slightly with sandpaper if you want a softer look. Sand the cleat too — bare wood touching bare wood squeaks otherwise.
Mount the cleat to the wall
Hold the cleat at your target height. Level it. Drive #10 × 3" screws through the cleat into each stud. Use drywall anchors for any spans where there is no stud nearby. The cleat should not move when you push down on it.
Slide the shelf onto the cleat
The shelf face slides over the cleat — the cleat lives entirely inside the shelf. If the fit is too tight, sand the inside top of the shelf face down a hair. Once it's snug, secure with #8 screws driven up through the bottom of the shelf into the cleat.
Finish
Apply your finish before mounting if possible (easier to reach all sides). For a quick beautiful finish, two coats of clear oil — wipe on, wait 15 minutes, wipe off — is hard to beat.
Tips
- Always mount into studs. A floating shelf into drywall alone will eventually fail under load.
- For shelves longer than 36", use three studs minimum — the moment arm grows fast.
- If you want zero visible hardware, plug the bottom screws with matching wood plugs.
- Don't load the shelf for 24 hours after the finish dries. Modern finishes need that time to fully cure.
- Mass on a floating shelf is limited. For books, keep spans under 30" and stack to 6" height max.
FAQ
How much weight can a floating shelf hold?
Properly mounted into two studs with a 2x2 cleat, a 30" floating shelf can support 30–40 lb evenly distributed (about a row of hardback books). Beyond that, add a third stud anchor or use a thicker cleat.
Do I need to find studs?
Yes for any meaningful load. Drywall anchors alone will pull out under repeated loading. The trick is to mount the cleat into studs and then slip the shelf face over the cleat — that's why you don't see the brackets.
What wood is best?
For looks: walnut or oak. For budget: pine, then a stain. For modern minimalism: maple or birch ply with the front edge banded. The cleat is hidden so any sturdy 2x2 works.
How do I keep the shelf level over time?
Wood moves with humidity. Pre-drill all cleat screws and use exterior-grade fasteners; a quarter-turn snug-up once a year is normal. Keep loads centered to prevent tipping at the front edge.
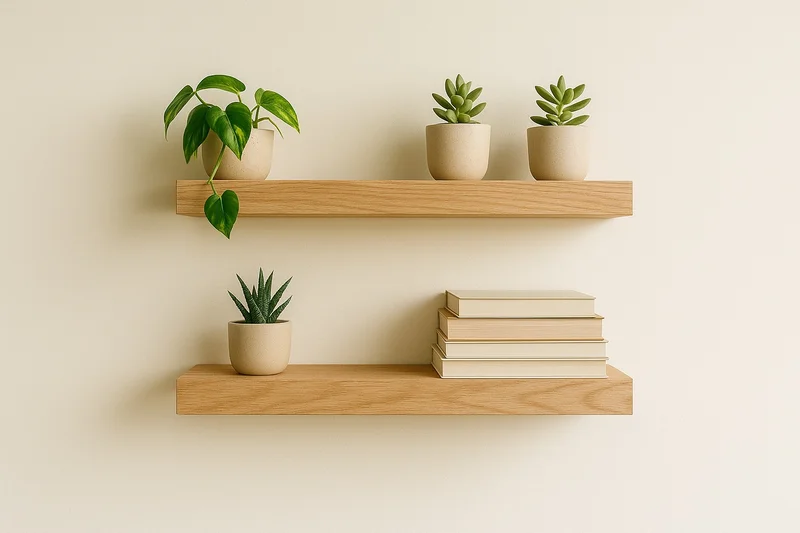
Build it, guided every step
The Fixie iOS app turns this plan into a customized build for your space - pick your dimensions, get an auto-generated cut list, order materials in one tap, and follow the steps with 3D previews.
Download Fixie on the App StoreMore beginner projects