Tools you'll need
- Tape measure
- Pencil
- Square
- Miter saw or circular saw
- Drill / driver
- Clamps
- Staple gun
- Sandpaper - 80 and 120 grit
- Safety glasses
- Dust mask - Recommended when cutting pressure-treated lumber
Materials
- 4x4 corner posts - Pressure-treated pine is the practical, weather-resistant default; cedar is a naturally rot-resistant premium option
- 2x6 boards - Side and end slats, plus the mitered top trim
- ~50 3" #10 exterior wood screws - The slat and post joints
- ~16 2" #8 exterior wood screws - Only if adding the mitered top trim
- Waterproof wood glue - Exterior-rated (Titebond III or similar) for the mitered trim joints
- Landscape fabric - Lines the interior as a soil barrier
- 3/8" T50 staples - Attaches the landscape fabric
Skip the math - the Fixie iOS app generates a per-project cut list for the exact dimensions you pick, with kerf accounted for and one-tap sourcing for the lumber.
Step by step
Gather your materials and tools
Pressure-treated lumber is the practical, weather-resistant default for an outdoor planter; cedar is a naturally rot-resistant option if you want to skip the chemicals. Wear gloves and a dust mask whenever you cut pressure-treated lumber.
Review your cut list and sort your lumber
Group your 4x4 posts, 2x6 slats, and 2x6 trim boards (if included) separately so you're not hunting for the right piece mid-build.
Cut and label the mitered top trim (optional)
Miter each of the four trim pieces at 45°, measuring to the long point of each cut. Cut the two long pieces first, then the two short pieces, and dry-fit all four before moving on to confirm the corners come together square.
Sand every piece
80 grit first, then 120, easing every sharp edge and corner.
Assemble two post-and-slat end units
Build two "H-shaped" assemblies, each pairing two 4x4 corner posts with an end slat, flush at the bottom, two screws per joint, then stack the remaining end slats up from there.
Connect the two end units with the side slats
Join your two H-shaped assemblies with the side slats to close up the box, checking that the diagonals match within about 1/8 in before you move on.
Attach the mitered top trim (optional)
Dry-fit all four trim pieces around the top edge, then glue the miter joints and screw each piece down — two screws per post for the long pieces, then the same for the short pieces plus a corner screw at each miter.
Line the interior with landscape fabric
Drape the fabric down into the box and staple it near the top edge, leaving about an inch of fold-over, without pulling it drum-tight.
Apply a finish if you want one
Pressure-treated lumber doesn't need a finish to hold up outdoors, but an exterior stain, spar urethane, or sealer will keep the color from graying. Let it dry 24–48 hours before adding soil.
Place it, then fill it
Set the empty box exactly where you want it first — it's much lighter empty than full. Fill with potting mix rather than garden soil, leaving 1–2 in of headspace below the top trim.
Tips
- Choose pressure-treated lumber for the easiest build, or cedar if you'd rather avoid treated wood near edible plants — both are reasonable choices for a garden box.
- Check your diagonals at every stage. A box built slightly out of square gets harder to correct once more pieces are attached.
- Don't staple the landscape fabric drum-tight. It just needs to hold soil in, not act like a drum head.
- Move the empty box into its final spot before filling it with soil — a filled box is heavy and awkward to reposition.
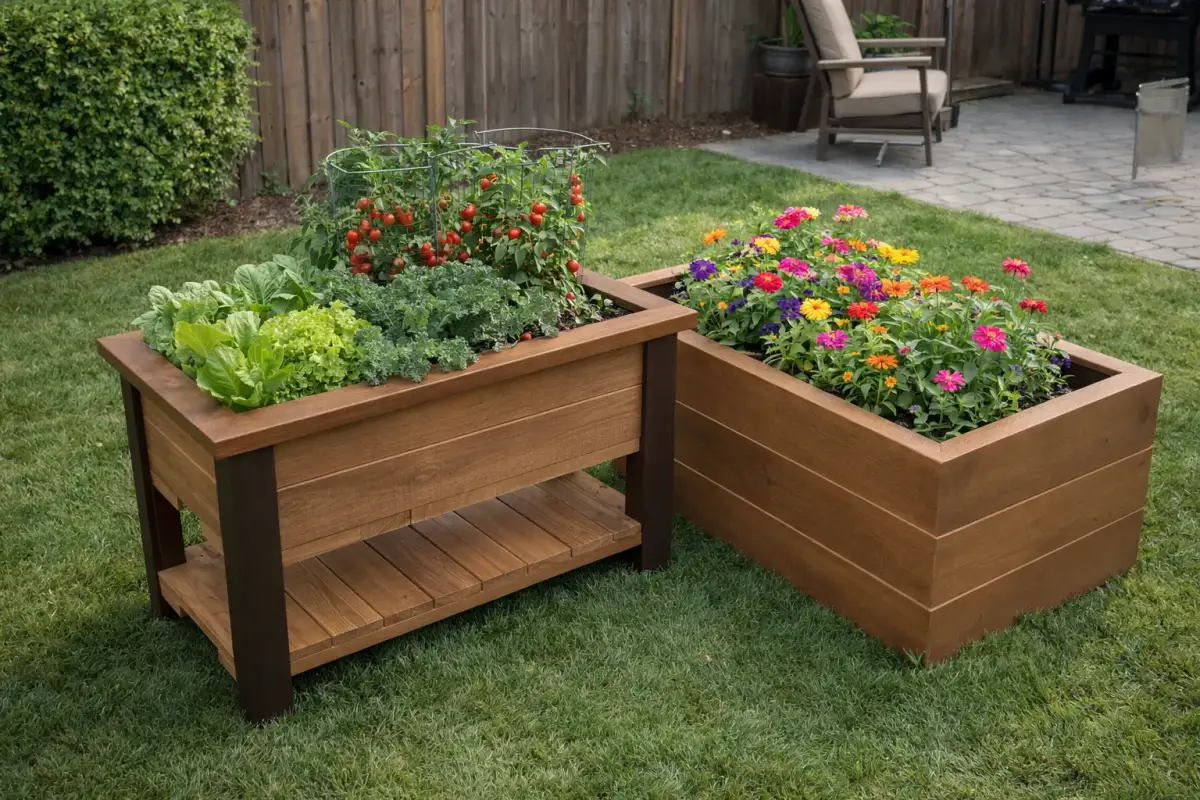
- If you'd rather not bend down to garden, the same basic design also works built up on legs as a raised planter, at standing height.
FAQ
Is pressure-treated lumber safe for growing vegetables?
Modern pressure-treated lumber sold at home centers today no longer uses the older arsenic-based chemicals and is generally considered acceptable for garden use. If you'd rather not use it near edible plants, cedar is a naturally rot-resistant alternative, and the landscape fabric liner in this plan adds an extra layer between the wood and your soil either way.
What size planter box should I build?
The design scales from a compact box up to a large one — pick a size based on your available space and how many plants you want to grow. A wider, shorter box suits shallow-rooted vegetables and flowers; add more boards to the stack for deeper-rooted plants.
Do I need to finish the wood?
Not if you use pressure-treated lumber — it's already weather-resistant. An exterior stain or sealer is purely cosmetic, to keep the wood from graying as it weathers.
Can I build this on legs instead of on the ground?
Yes — a raised version of the same box, built at standing height with a lower shelf, is a common variation if you'd rather not kneel or bend to garden.
Why line it with landscape fabric?
The fabric keeps soil from washing out through the gaps between slats while still letting water drain through, and it adds a layer between the wood and the wet soil inside.
Build it, guided every step
The Fixie iOS app turns this plan into a customized build for your exact space - pick your dimensions, get an auto-generated cut list, order materials in one tap, and follow the steps with 3D previews. Have something else in mind? Describe it or snap a photo and Fixie will design your own build from scratch - your first design is free.
Download Fixie on the App StoreMore beginner projects